Creating a group
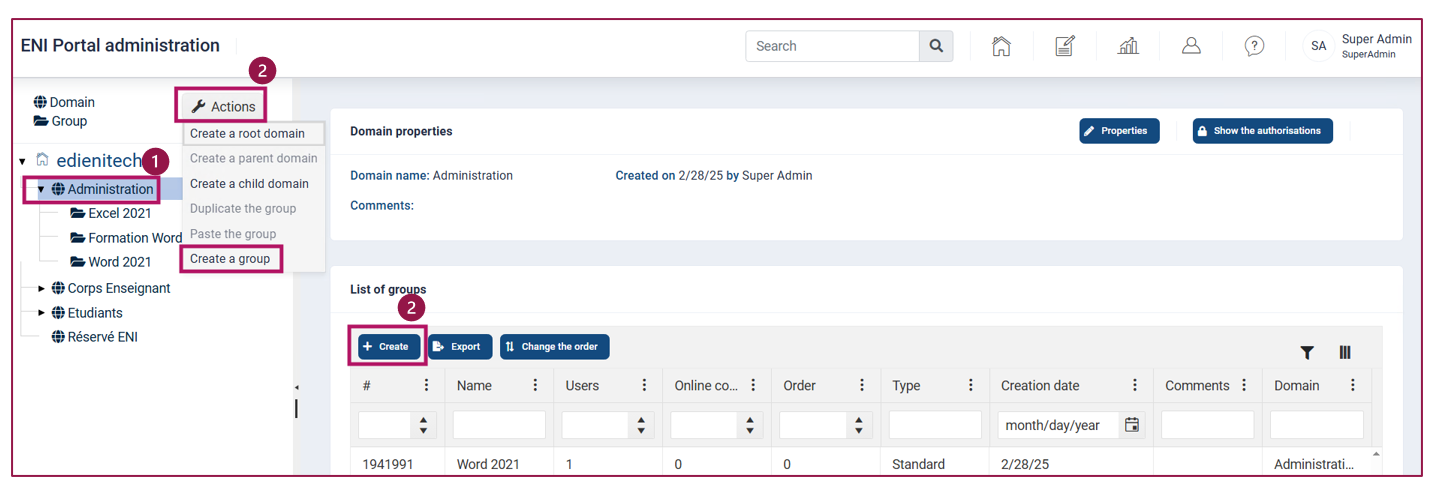
1. Activate the domain in the tree structure of the navigation panel.
2. Then:
- Activate the Create button in the Groups list in the central panel,
Or
- Activate the Actions button on the navigation panel to select the Create a group option.
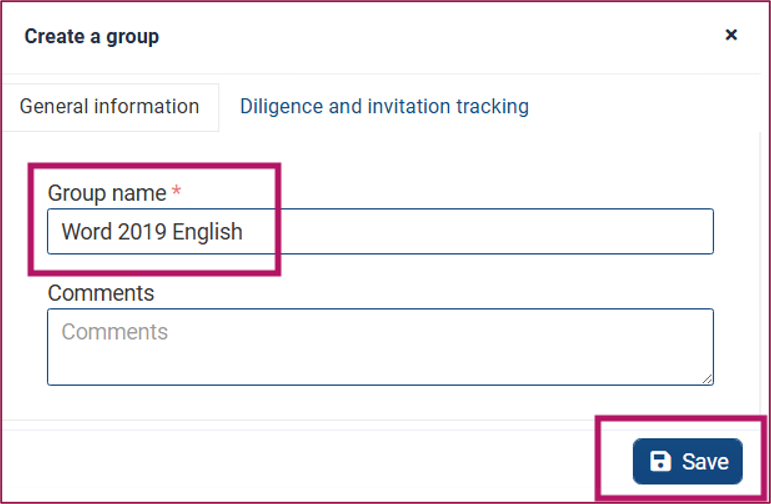
3. Enter the name of the new group and a comment if necessary.
4. Click Save to confirm the creation of the group.
- If it is green, the requested action has been carried out.
- If it is red, the requested action has not been validated.
Click on the pop-up to speed up its closure.
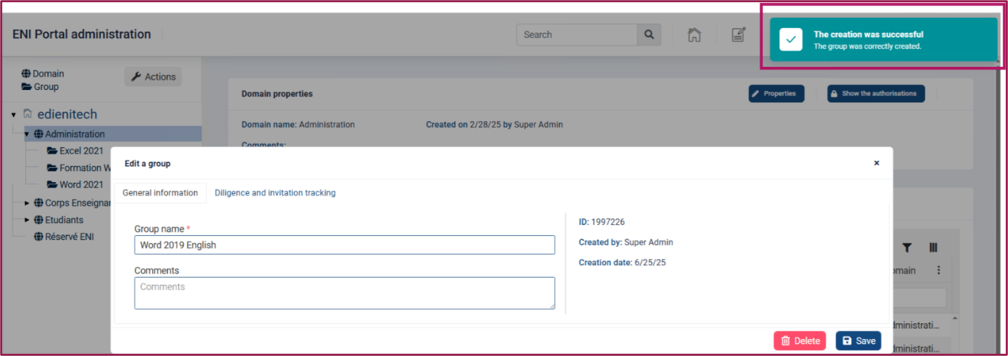
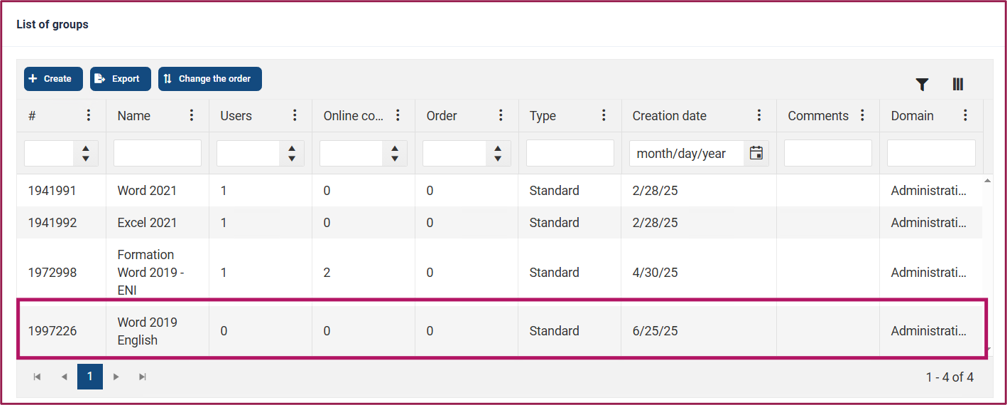
6. Close the dialog box using the cross. Your new group is now visible in the Groups list.
Modifying a group
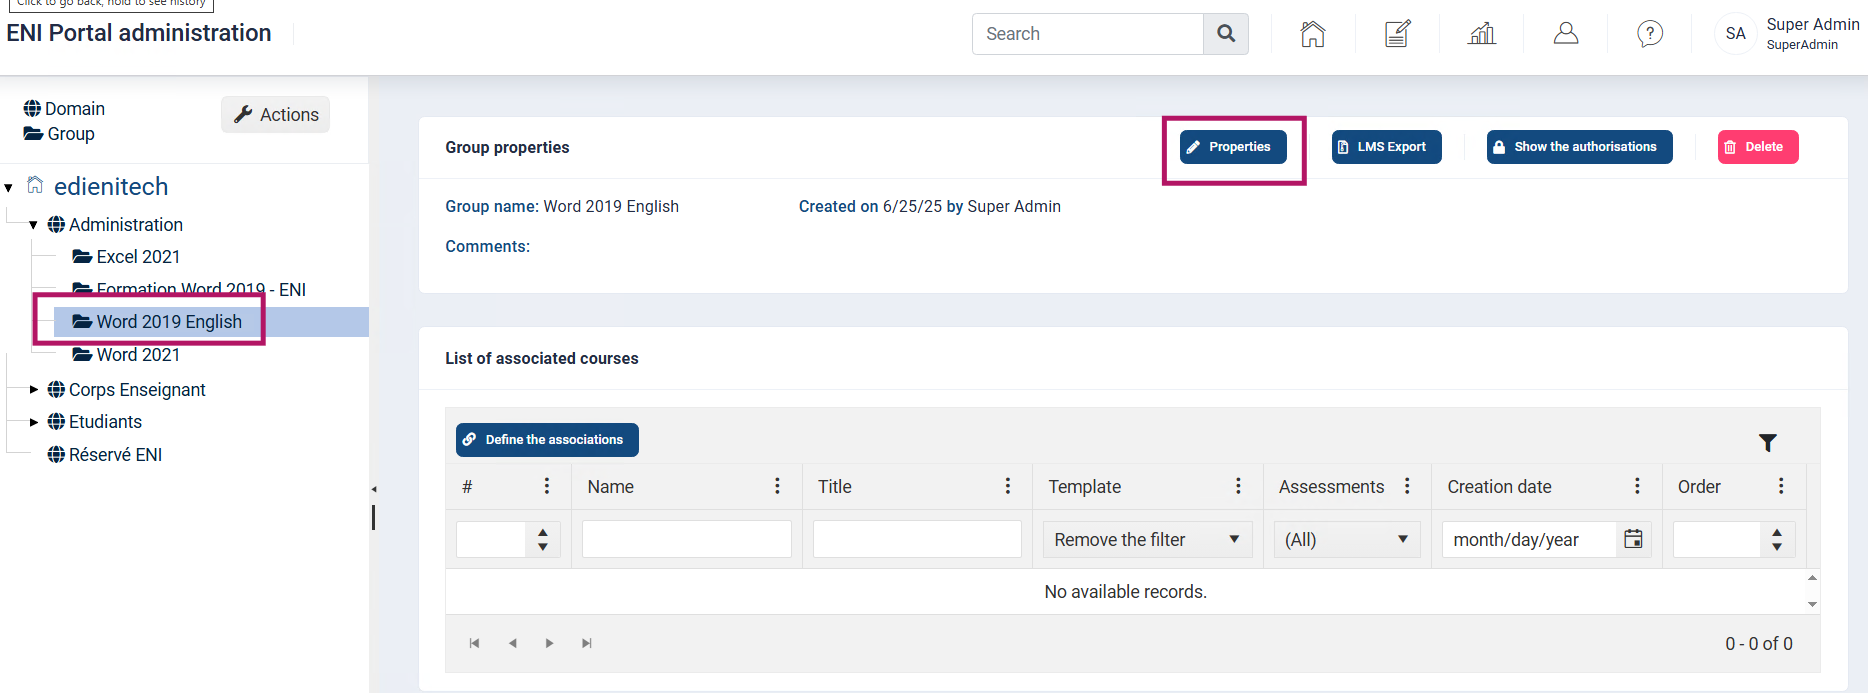
1. Select the group to be modified in the navigation panel tree and activate the Properties button.
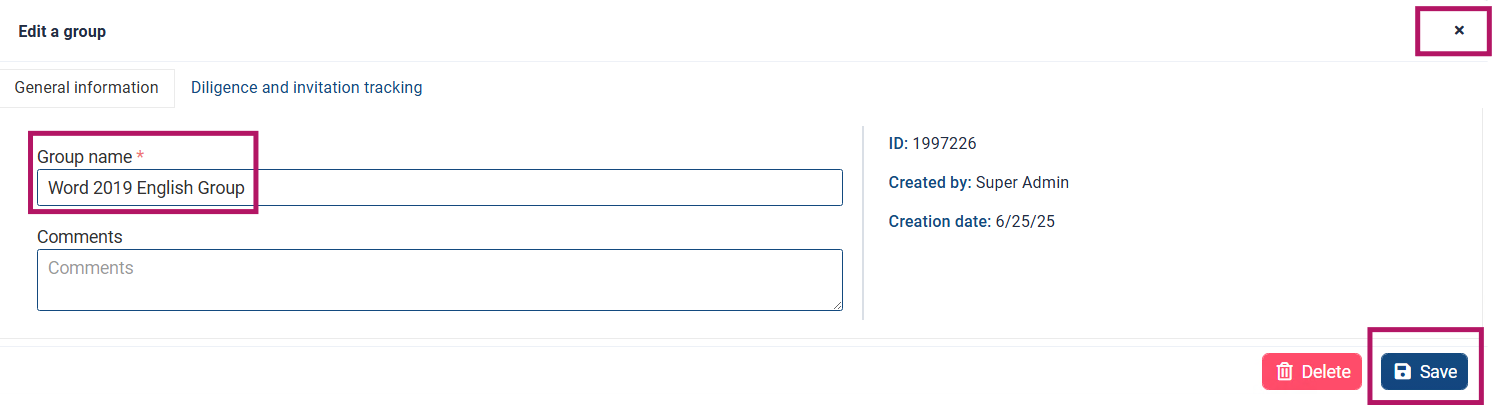
2. Make the modifications, then click Save.
3. Close the dialog box using the X button.
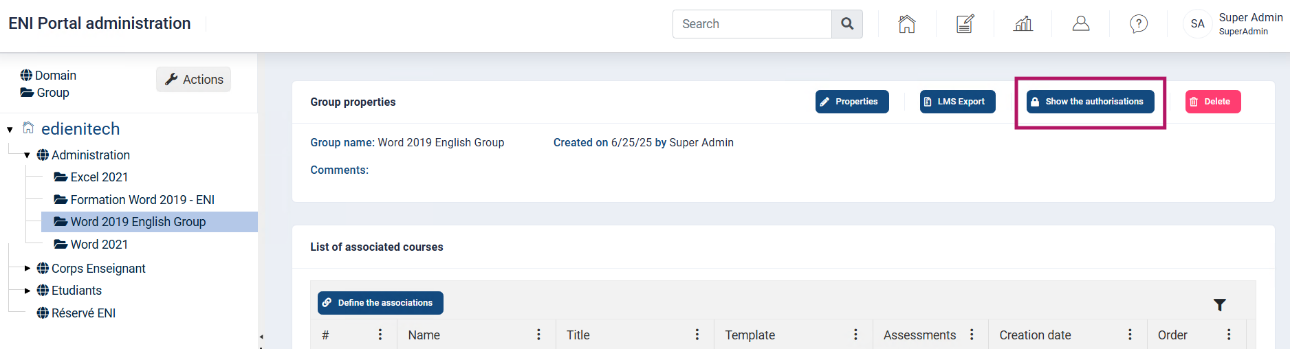
The Show authorisations button displays the group administrators and the rights they have been assigned.